Teacher KimyiBO
Lesson plan: Museum of Everyday objects
- Cross-curricular lesson- Visual art lesson based on reading Escape from Pompeii by Christina Balit
- Themes: Forces, Transformation, Preservation
- Visual art ideas: Using everyday objects as motifs, printmaking, Silhouette
- Main question to explore:
What would people 2000 years from now make of the objects that we leave behind?
Reflection after reading Escape from Pompeii
- Looking at the illustrations from the book and identifying everyday objects that people were using.
- Looking at the examples of excavated artifacts that depict the life of Pompeians before the explosion of Mount Vesuvius. For example, this image below shows the objects that were recently discovered at Casa del Giardino. Displayed in Antiquarium of Pompeii.
- Discuss what the artifacts that we can see in the museum tell us about the life of Pompeians before the explosion of Vesuvius in 79 AD. Complement the observation with the first few scenes in Escape from Pompeii.
The walls, streets and gardens of their beloved Pompeii disappeared beneath a blanket of ash and stones. Before their very eyes, everything and everyone they ever loved was destroyed.
from Escape from Pompeii

Connecting with Art
- Talk about how “Art is Transformation…. “
- Making a link to artists who applies different processes of transformation such as flattening, crashing, exploding, melting, or burning to everyday objects.
- Ask : What would people 2000 years from now make of the objects that we leave behind?
Material and technique: Gelli Printing (This website contains all the information about the material and process : http://www.gelliarts.com)
Process (Simplified version)
- Draw everyday objects in silhouette.
- Cut them out. Now you have stencils.
- Print the first layer of color using Gelli plate. Use light colors.
- Let the print dry.
- Print the second layer with Gelli plate, blocking out the parts using stencils. Use darker colors.
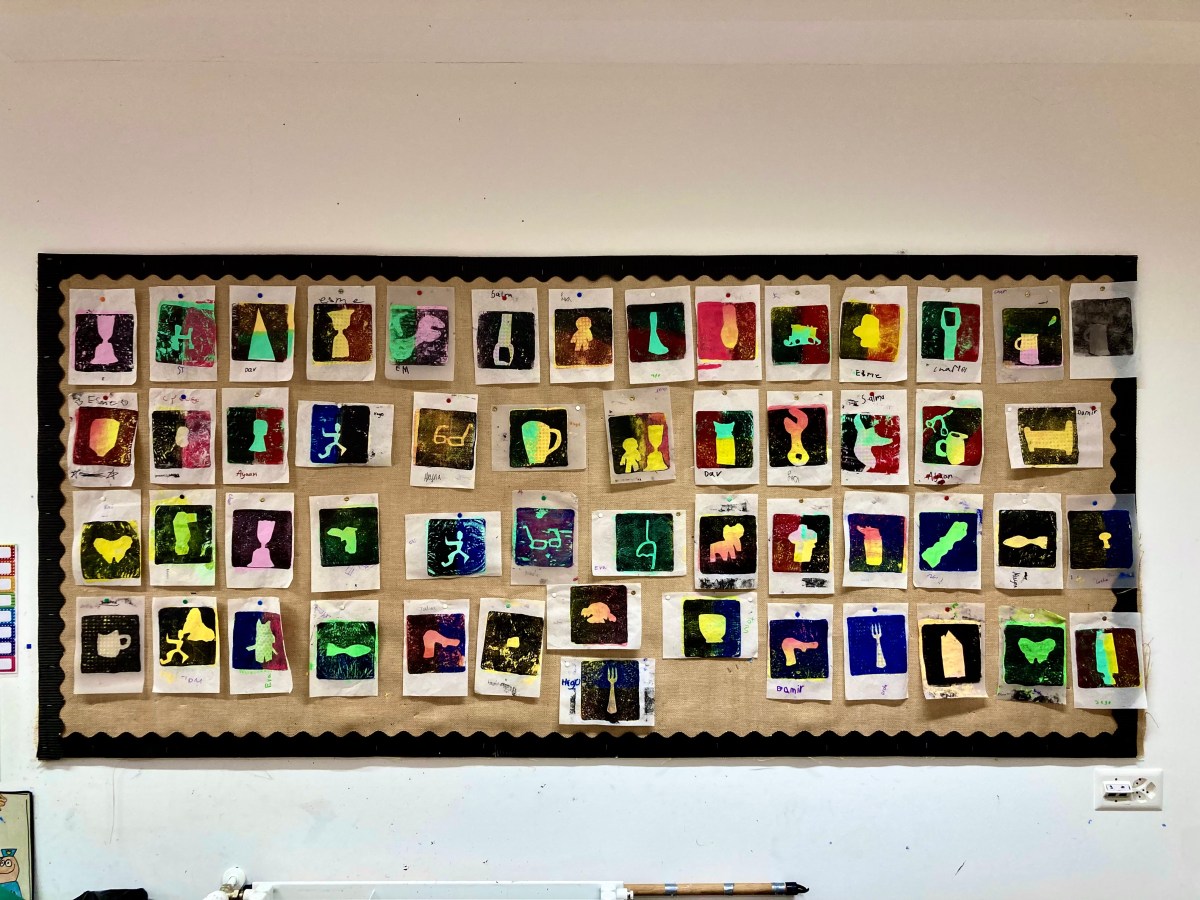
- Let the print dry and hang it on the wall.
- Now we have a museum of objects.
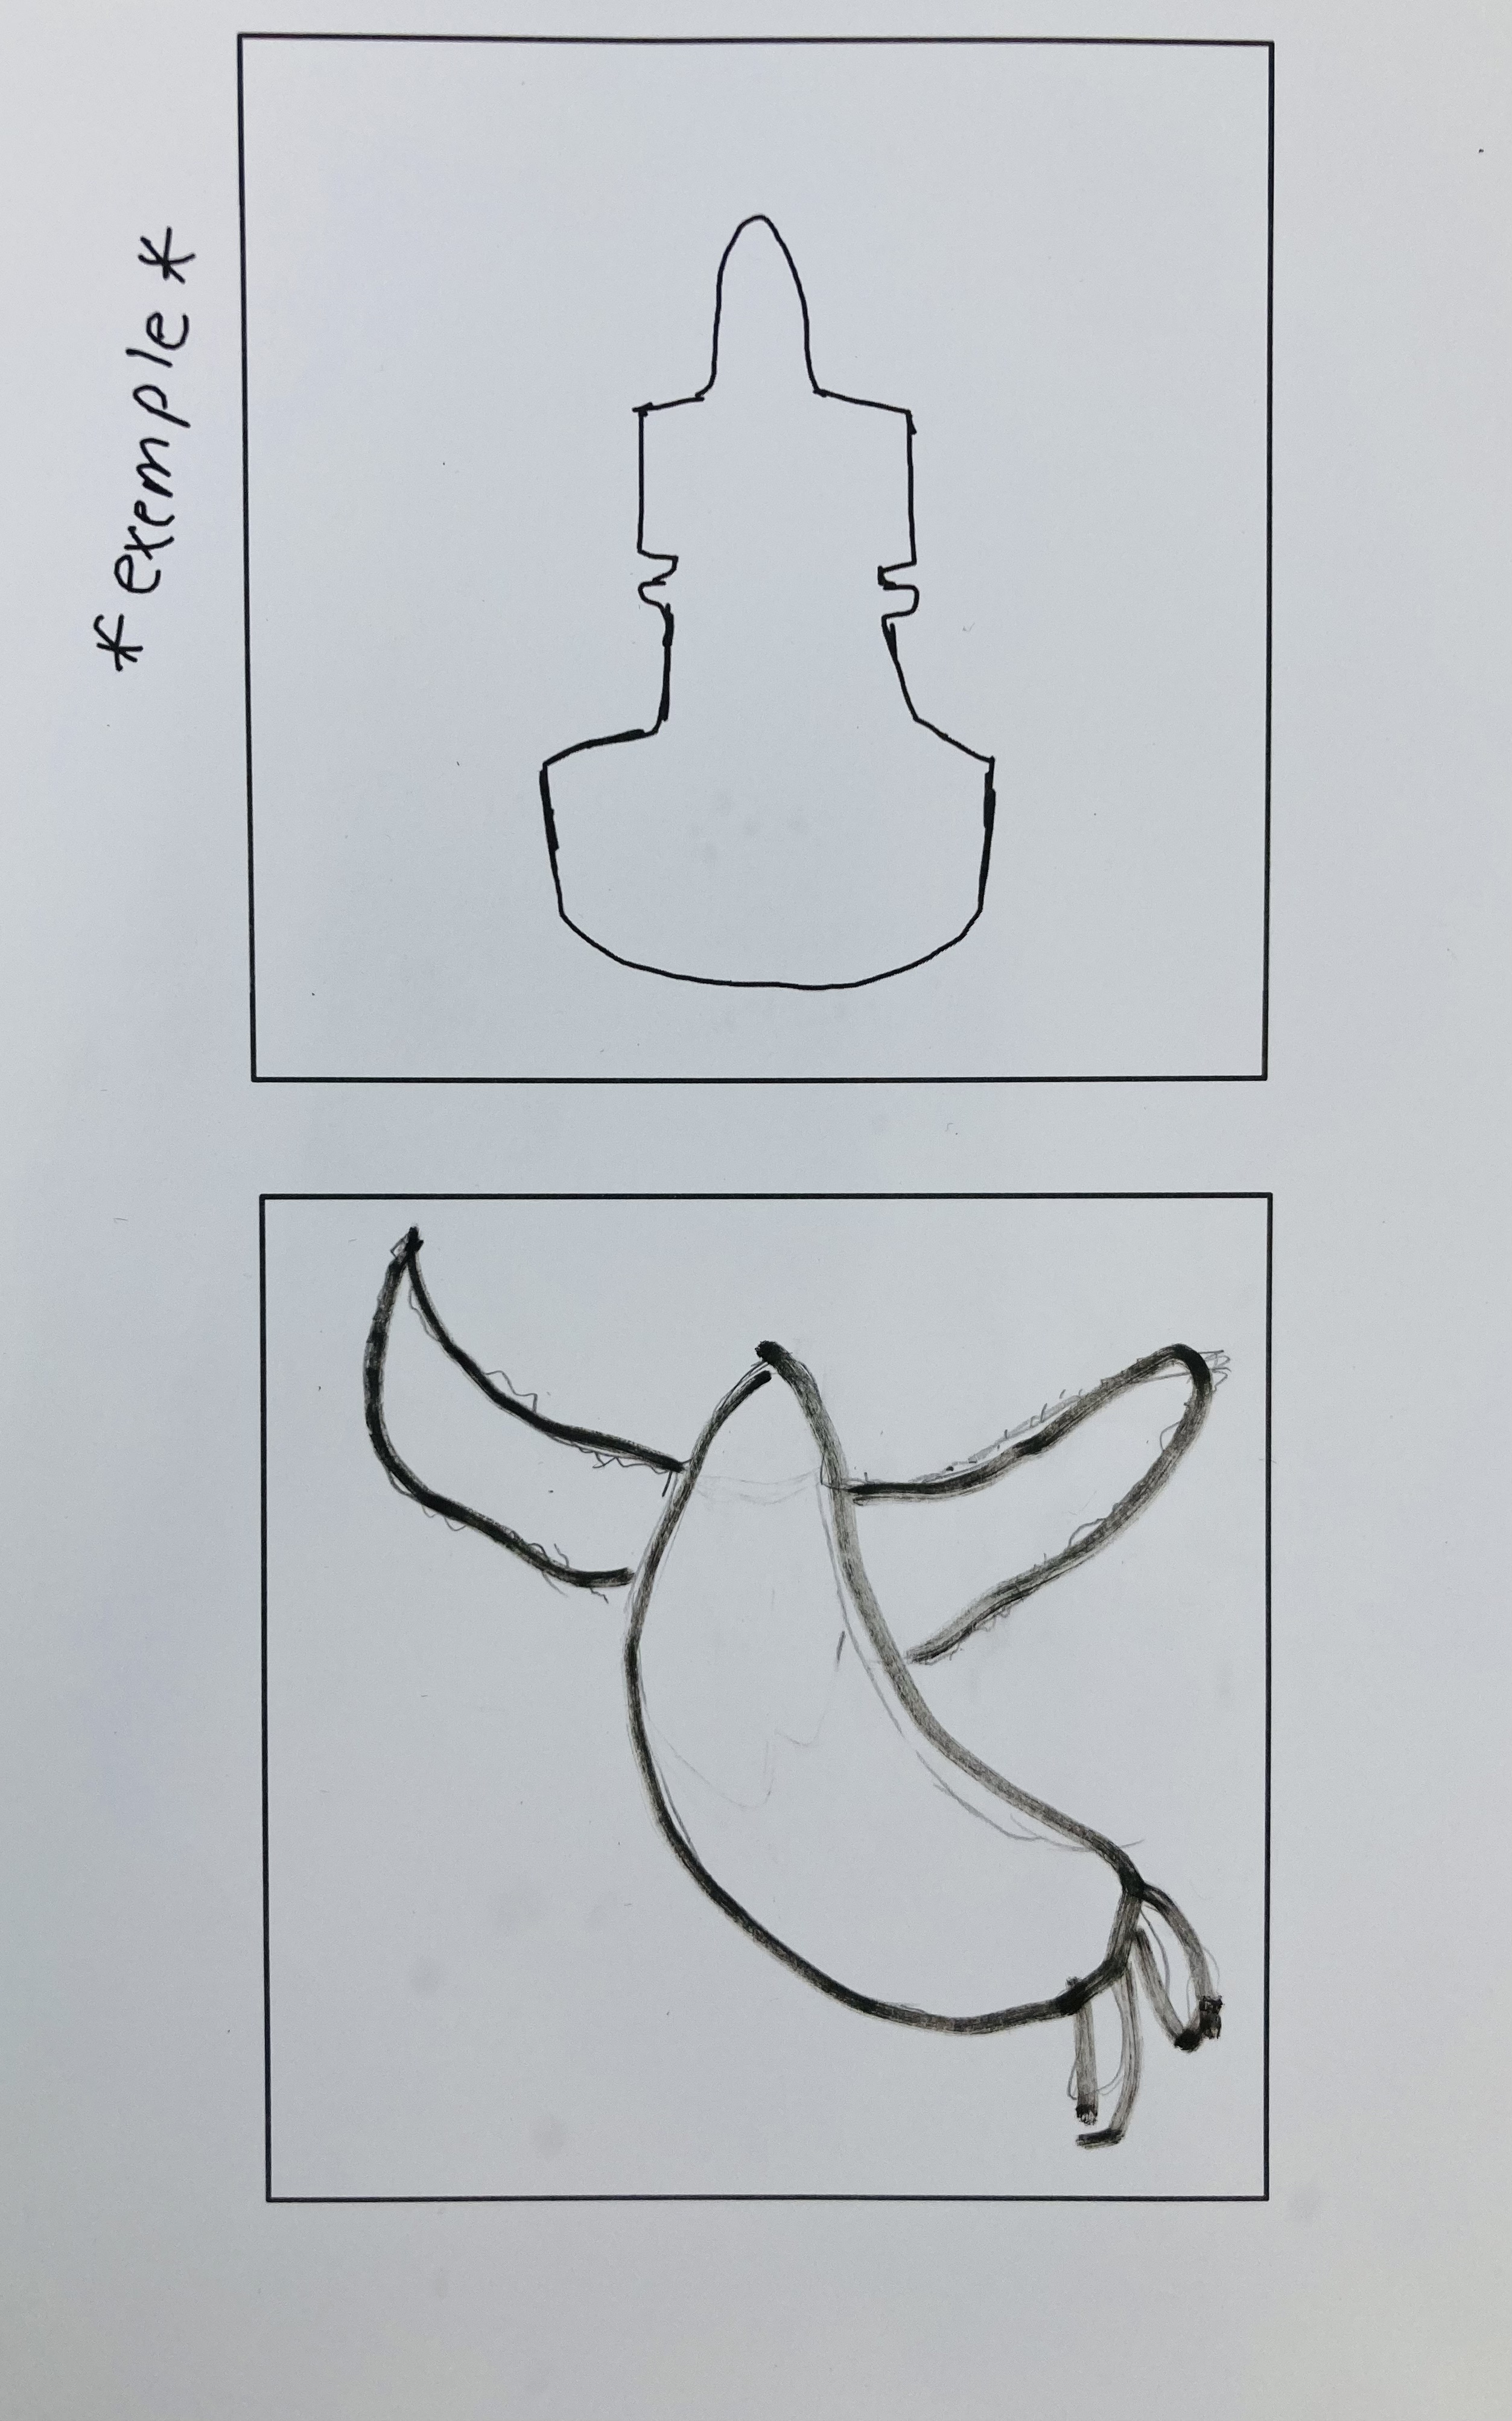

*oops! Spelled example wrong on the above handout 😦


Discussion